|
|
| Quick Start Guide |
|
This is a quick start guide for using your web editor. Your web editor comes with an extensive User's Guide (in PDF format) that covers everything you can do with your editor. We highly recommend checking it out. Tip: Once in the web editor, there is a "help" button in the top right corner of every page. Excellent quick online help when you need it. Overview: WebEdit Professional is a browser-based web content management and website builder application with a complete online WYSIWYG HTML Editor that you can use to create, edit and update your entire website. You can edit and save your web pages from any pc connected to the internet. Requirements for your pc are:
Note: WebEdit Professional will not work on Apple
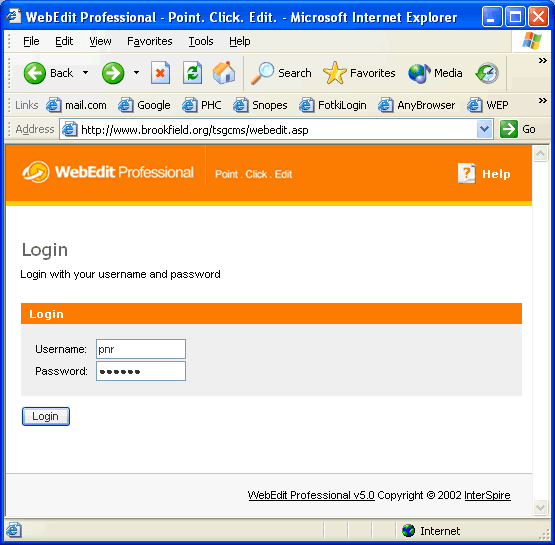
Macintosh's Keep in mind that you DON’T need this browser to visit and SEE your site, anyone can see it! You just need this browser to edit it. Accessing your web editor: On any pc connected to the internet using Microsoft's Internet Explorer v5.5 or above, go to http://www.INBenterprises.com/tsgcms/webedit.php. Tip! Add the login screen to your favorites for easy access later. Enter your username and password and click the "Login" button. Your username and password has been emailed to you. If you have lost the email or otherwise forgotten your username and pasword, please contact us and we will send it to you again. For the purposes of this quick start guide, we will be using the "pnr" account.
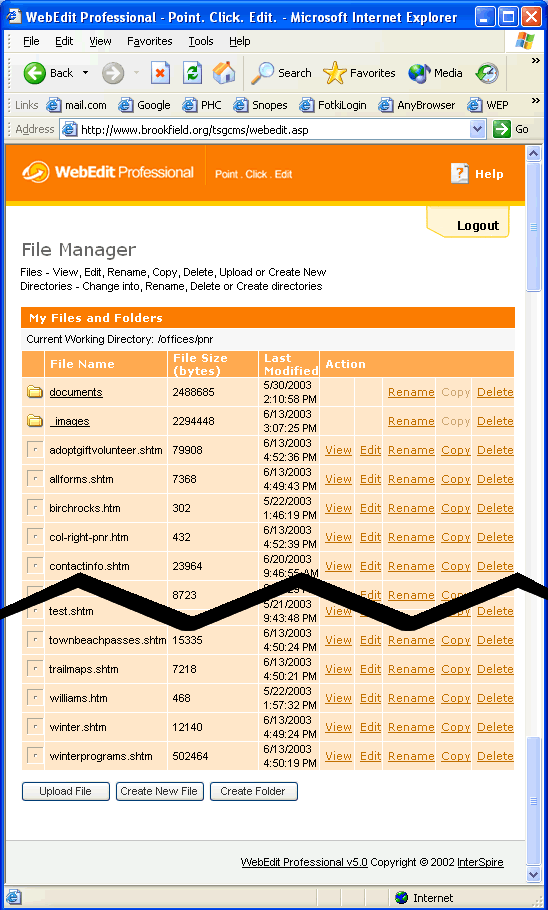
After successfully logging in you will be taken to the File Manager. Here you can see your folders and files.
At the bottom of the screen (you'll probably have to scroll down) you'll find the buttons to upload a file, create a new file or folder. OK - let's look at the editing screen now ...
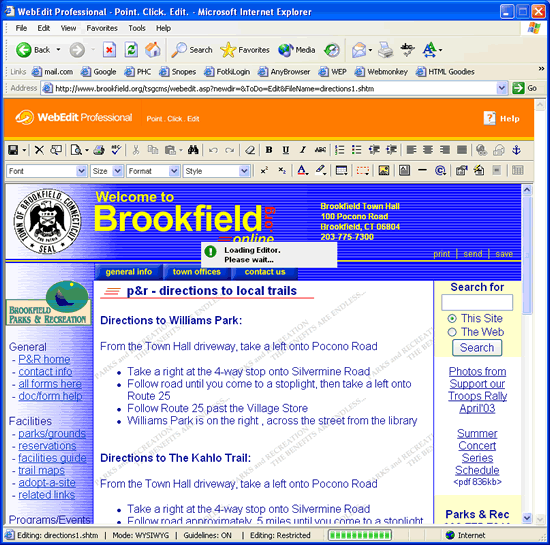
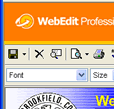
You'll find the interface intuitive. Click in the content area and make your changes. As this is a quick-start guide and not a comprehensive tutorial (please see the web editor User's Guide for that) we won't go over what every button does. However, we would like to bring your attention to a few of them - more precisely, the first two left hand buttons.
The next button (looks like an X) is the "cancel without saving changes" button. This is good to use if you've done something horrible to your page (hey - it happens) and you decide it would be easier to start over than try and figure out what happened. When finished editing, you'll be back at the File Manager. If you are done, please click the big "Log Off" tab on the top right of the screen. This concludes the quick-start guide. |


 The first button (looks like a floppy) is your "save"
button. You must "save" your changes. Just closing the
browser window will not save your changes. You have to click the
floppy. The little down arrow next to the floppy will let you choose
"save & exit" which will save your changes and then
return you to the File Manager.